
Cordage, Tangles, and Knots
Coming Back to Nature: Science-Rich Activities for Children and Their Adults


Note: This blog is a serialization of a book titled Coming Back to Nature: Science-Rich Activities for Children and Their Adults. Here is the preface. The first field trip is Taking Education Outside.
Introduction
Fibers, long, thin filaments of natural or manufactured materials, are everywhere. So are bundles of fibers. Our clothing, muscles, nerves, cables, string, and rope are all such bundles. We’ll use cordage to refer to twisted bundles of non-metallic fibers. We’ll stick with convention and use string to talk about thinner cordage and rope to refer to thicker cords. Cordage of all kinds can get tangled. Sometimes, we deliberately tangle cords and call those tangles knots. Bundling and twisting fibers to make cordage and tying knots are indispensable basic skills for fabricating and fixing clothing, making tools, and building all kinds of structures, from rafts to shelters. In this post, we introduce a method for teaching kids their first knots and how to make cordage meant to be used opportunistically as your children become interested in using cordage in their play and as they make things. At the end of this post, we recommend additional knots to learn beyond the variations of the simple overhand knot and square knot we introduce below.
Educational Ideas
We have two educational suggestions today. The first is about the power of a simple sequence for learning any skill involving physical interactions, including tying knots, cleaning a horse’s hooves, or doing surgery. I heard of this process from an emergency room physician friend who told me this was how interns were checked off on learning medical procedures: watch, do, teach. For the following activities, we recommend you go through them on your own first, becoming comfortable enough with each knot to demonstrate them to your kids. We also encourage you to encourage kids you’ve taught how to tie a particular knot to teach someone else.
The second idea is the importance of simply playing around with materials as a critical aspect of learning to use them. This applies to materials from sticks, stones, mud, hand lenses, and string to ball-and-stick molecular modeling kits. As a commercial fisherman, I learned more about knots untangling crab pot lines than I did being shown knots by the first mate on our boat. With cordage, untangling and untying knots is as central a learning activity as tying knots, maybe even more critical in metaphorical realms.
The importance of just messing around with string tangling and untangling is why the first activity we recommend is messing around with string!
Activities
We recommend using tight and thin string and chopsticks or other small sticks when you anticipate working with cordage. I keep those things in my backpack when in the forest with kids. Nicolette keeps a knot-tying kit in their bag: a flip book of knots with two cords.
Messing Around with String
I like to offer pieces of string to kids as something to play with. I support kids who are interested in doing this as long as they’re interested. For young kids, this may be the only thing they’re up for.
Tying an Overhand Knot
If kids seem interested in a challenge, I ask them to tie a knot so that when they pull on both ends, the knot stays. The simplest knot that meets this challenge is often called an overhand knot.

The overhand knot is the simplest knot to tie. It’s the knot kids are most likely to learn first and, given a single string, the one kids are most likely to discover if they didn’t know it already. Since Nicolette has a young kid, they sing and tell poems while doing hand work together. The overhand verse goes: May your strings greet an X, one dances under and through, pull them tight as they bid adieu.
Using an Overhand & Double Overhand Knot as a Stop Knot
Overhand knots, especially double overhand knots, are effective stop knots: knots that will prevent a rope from slipping through a narrow opening. If you can find a small twig with a fork in it you can show how the overhand knot could be used to stop a string from slipping through the joint of the fork past the knot. For a double overhand, go over and under twice, before you pull. The verse for double overhand knots is: May your strings greet an X, one twirls twice through, pull them tight as they bid adieu.
Using an Overhand Knot as a Half Hitch Knot
The next challenge I offer to kids who were successful at tying an overhand knot is to tie the same knot around a stick. Knots used to tie a rope to a stick or a pole are called hitches. Here, hitching is fastening a rope to a pole like when I used to hitch my horse to a hitching pole when I needed to clean their hooves. For this use, the overhand knot is sometimes called a half hitch.

After a child has successfully tied an overhand knot around a stick, I suggest they pull on the longer end of the string to see how easily the knot unties when used this way. Wonder scenarios where a quick-release knot would be good when it could be a problem, and when it wouldn’t matter.
Using an Overhand Knot to Bind Objects Together
For kids still having fun after using an overhand knot as a hitch knot, I suggest they try using the same knot to bundle two sticks together.
Knots used to bind two or more objects together are called binding knots. Be curious together; why would you need to bind things together? How many things can I bind? I’ve bound them, now what?
Tying Two Strings Together Using Overhand Knots
The next challenge I offer to interested kids is tying two strings together. There are many ways to do this. The classic way is with the square knot. The knot we use with a loop added to tie our shoelaces together.
Some kids may do this. We’ll introduce how in a later step. I like to give kids some time at this challenge to see what they come up with. If anyone becomes overly frustrated, I’ll guide them through the following steps.
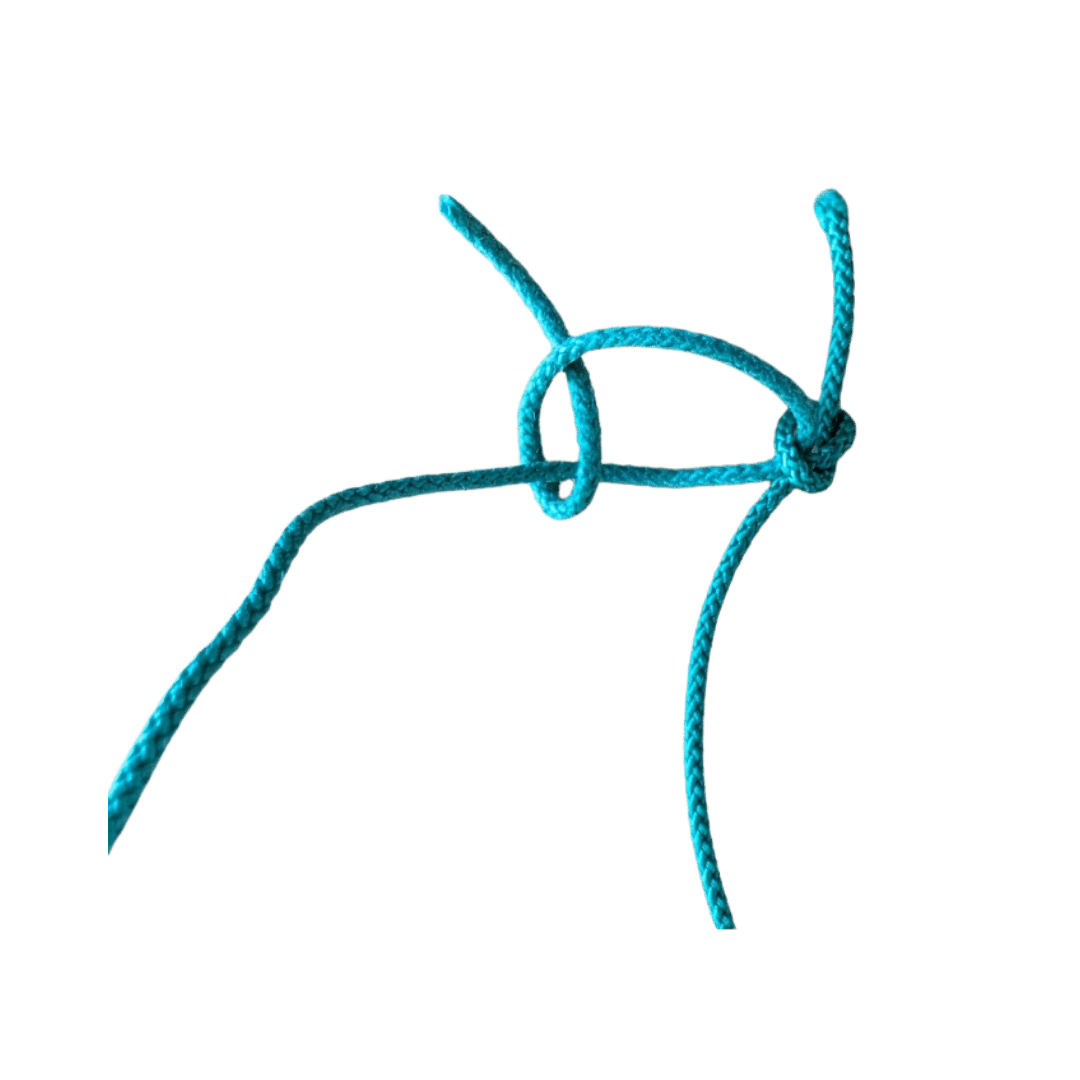
The overhand knot can also tie two strings together in at least two ways. Both ways can start by using one string to tie a hitch around another.
One way to complete this is to use the working end of the string that has the hitch tied around it, to tie an overhand knot around the knot formed by the other string.
After a child has used this method to tie two strings together, I suggest they pull on the ends of the joined string to see if they untie. They may or may not, depending on the type of string you use.
The other way is to tie an overhand stop knot at the end of the string with a hitch tied around it.
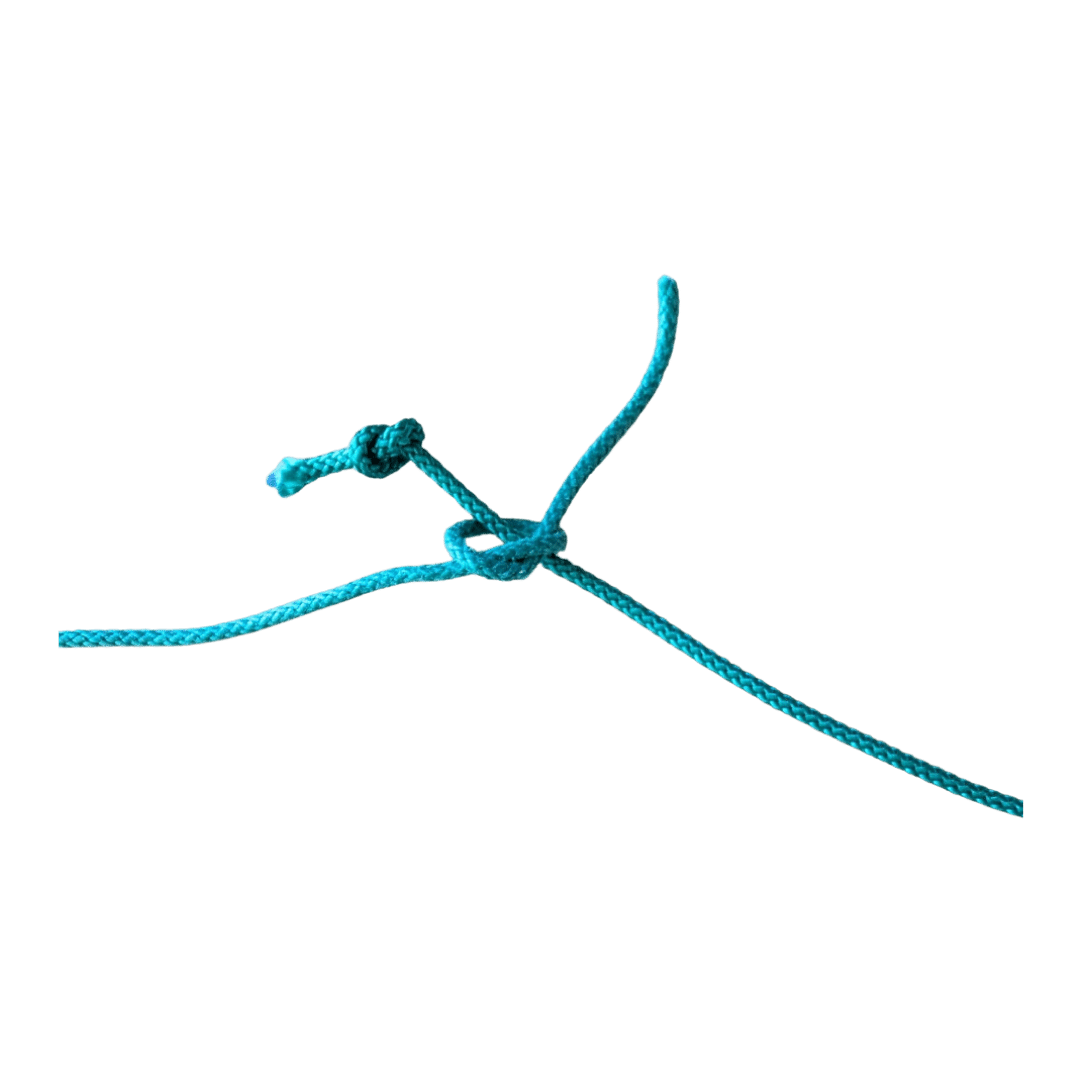
Again, I recommend suggesting they pull on the ends of the joined string to see if they untie. This method is a little more resistant to untying under tension.
Tying Two Strings Together Using a Square Knot
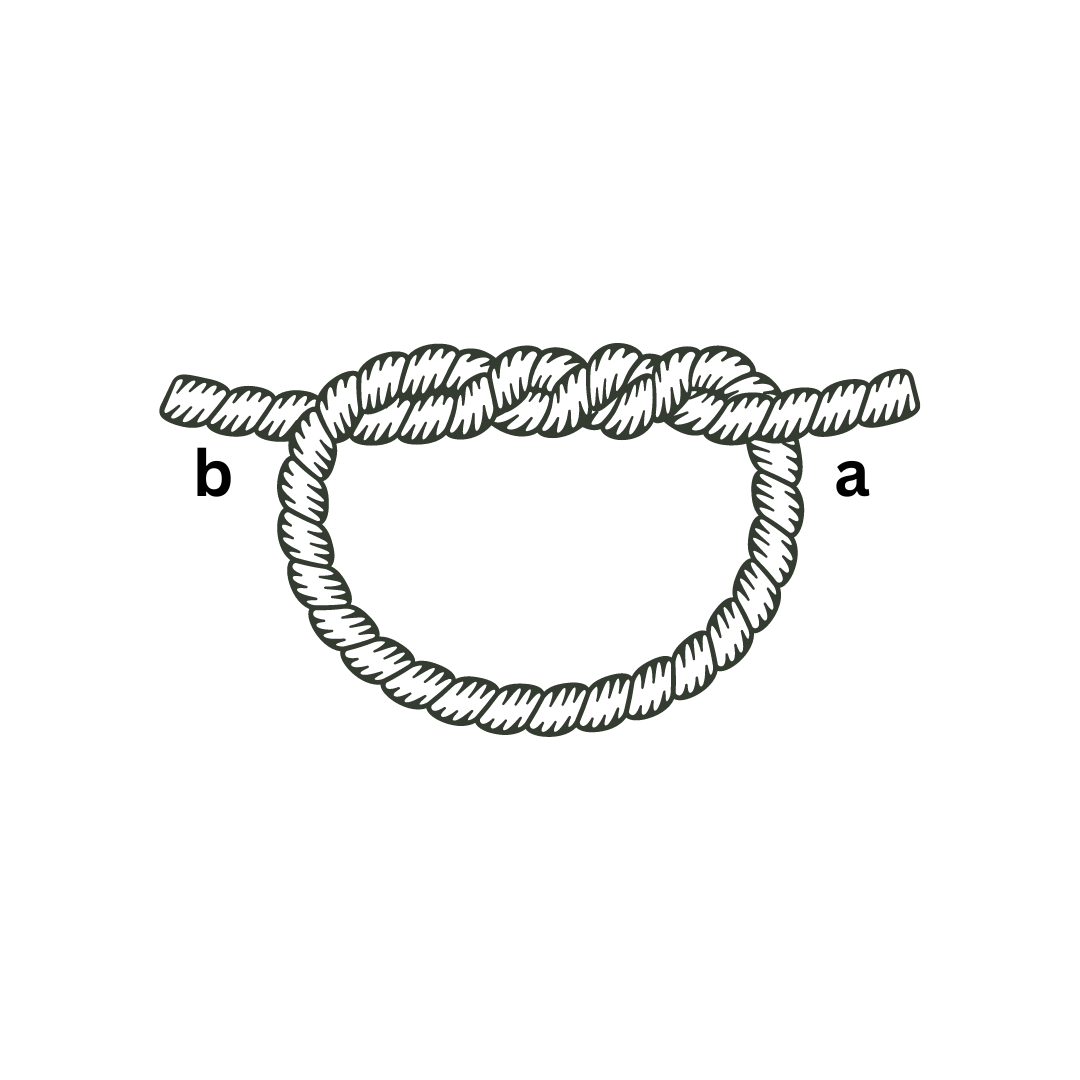
For kids who don’t know how to tie a square knot, I’ll introduce how to tie one using the two-step method we use to tie our shoelaces. I first ask them to twist the ends of two strings together near the ends of both strings, as shown below.

Then I ask them to take the end of one string and wrap it over and under or under and over the end of the other string so that the ends of each string are side by side with its other part. Nicolette’s mnemonic for square knots is: Two strings dance, first an X right over left, above they go with an X left over right.

After a child has successfully tied two strings together using a square knot and tightened the knot, I suggest they try pulling on the ends of the joined string to see how easily they come apart. They may or may not, depending on the type of string you use.
Making Reverse Twist Cordage
Many plants contain long threadlike fibers that can be twisted to make thicker cordage. Yucca, cattails, nettle, dogbane, velvet leaf, milkweed, prairie flax, thistle, and fireweeds make effective cordage. When I teach making cordage with the reverse twist method, I start kids off with thin jute. Jute is a manufactured string made from natural plant fibers.
To use jute to make reverse twist cordage, cut a piece about 10 inches long. Grasp it towards the middle with your thumbs and index fingers.
Twist the string in your right hand away from you while twisting the string in your left hand towards you. Keep doing this until the string twists up into a little loop between the fingers of your two hands.
Grab the nub between your left thumb and index finger so that one end of your string is above the other.
Twist the upper string away from you until it is twisted tightly (three or four twists). Now twist that part of the string towards you over the other string so it is now the lower piece.
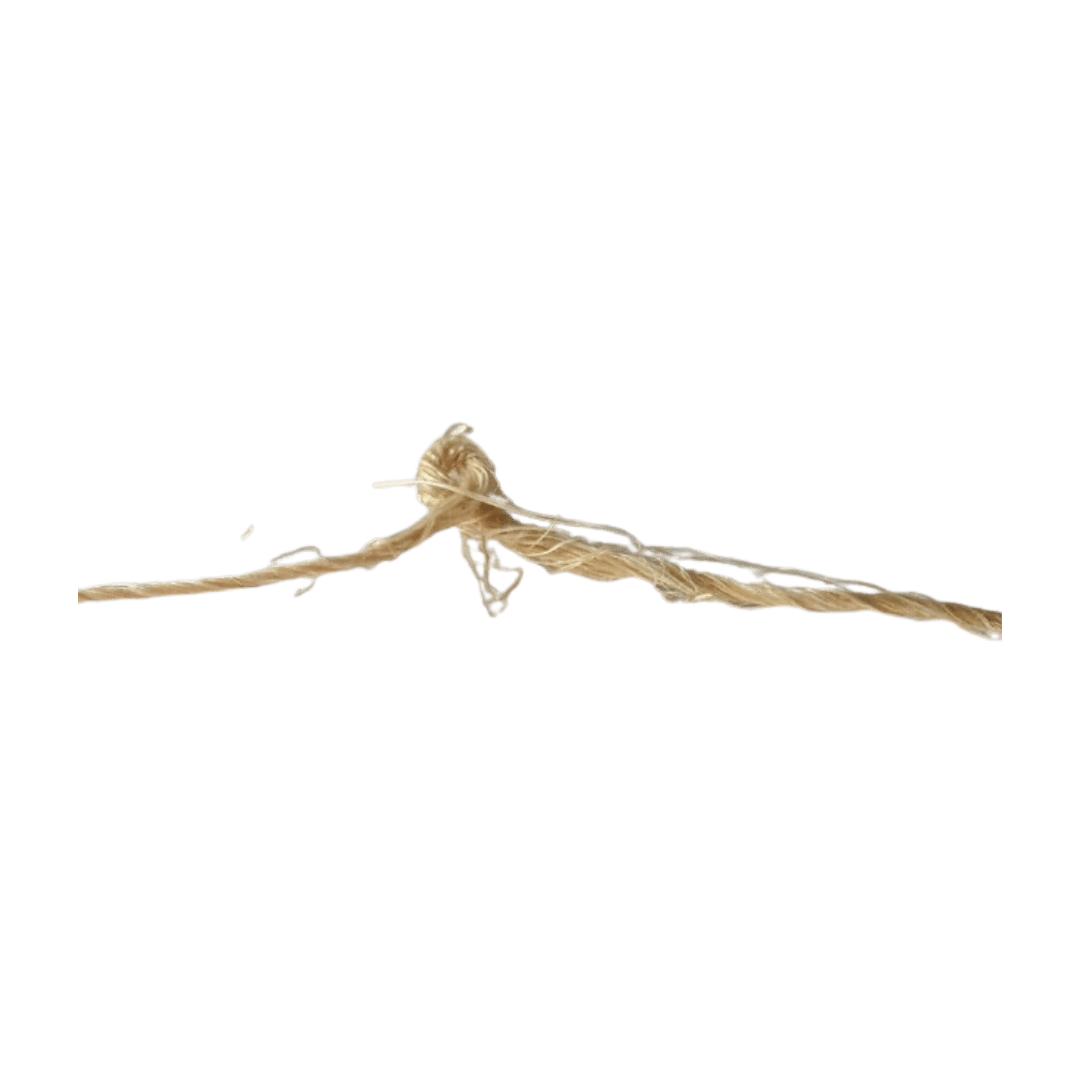
Repeat the above step until you have something that looks like this.

After making reverse twist cordage with jute, you and your kids can try it with found natural fibers. Please remember to ask before you harvest natural materials and to listen for answers. Is there enough material to support your harvesting without dangerously reducing the population? Is it a good time to harvest? While harvesting, sustain an attitude of gratitude and finish your harvest by thanking your plant kin for their gift.
Outdoor Science
Fibers, tubes (i.e., hollow fibers), and bundles of fibers and tubes are pervasive in the natural world (for more on those pervasive patterns and others, see Patterns that Connect). Like other pervasive patterns, these are common because they are well suited to performing crucial general functions. Fibers and tubes are both strong, and flexible. Muscles and bridge cables are two examples of sturdy bundles of fibers. Bundling and twisting add to their structural strength. Tubes are also very effective for transporting fluids. Think veins, arteries, plumbing, xylem, and phloem. Insects that weave, such as the weaver ant, or produce silk, like the silkworms, have relationships with humans, which led to curious humans experimenting with the fibers and techniques they witnessed in their natural environment. Humans, perhaps also imitating birds, have been making things by twisting fibers together for eons. Making cordage, cloth, cable, nets, and weavings, are all ways of twisting fibers together.
One of the reasons why so many plants can be used as cordage is that all vascular plants contain natural fibers. Vascular plants use xylem and phloem to circulate fluids to their parts. Almost all plants are vascular. The woody parts of trees are entirely composed of the live and dead vascular material called xylem, while the bark is composed of vascular materials called phloem. Non-vascular plants are the algae and the bryophytes, including liverworts, hornworts, and mosses. Non-vascular plants like these don’t have roots, stems, or leaves, are low-growing, and need a moist habitat because they don’t have a system for circulating fluids.
Wrapup
This post guided you through tying some simple knots and making cordage using the reverse twist method. We hope this is the beginning of your journey into working with fibers. We encourage you to explore further, possibly beginning with learning more knots like the slip knot, clove hitch, trucker's hitch, sheet bend, and bowline knots. The base you and your kids learned here is also a great jumping-off point for exploring handwork and fiber arts, including weaving, knitting, sewing, and crocheting.